3D Scanning to Map Part Shrinkage

Visit The QC Group at MD&M East.
June 9, 2015
Virtual CMM Training and Offline CMM Programming Support
July 21, 20153D Scanning to Map Part Shrinkage

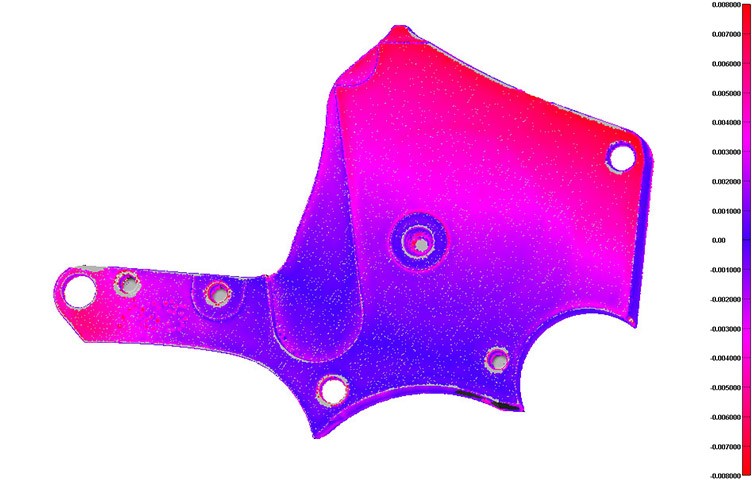
The right laser scanning equipment can accurately define localized shrinkage in a cast or molded component. Often times, this method is used to troubleshoot tooling by developing surfaces of the sink area and using the new CAD geometry to modify the tooling insert. What’s more, on small parts the organic-shaped sink can be replicated to 2 or 3 ten-thousandths of an inch. Miniature sinks can be replicated to less than a micron using white light scanning or laser micro-scanning.
This is a very precise method of obtaining results when qualifying tooling. A typical turn-time to receive new CAD data is 24-48 hours, allowing inserts to be accurately modified quickly. The process has been successfully applied to sealing surfaces, bearing areas, and any application where shape is critical. This method is useful when part wall thickness cannot be changed or process modifications cannot adequately compensate for sinks.
The QC Group can be your partner in helping define localized shrinkage in your casting or mold components. Send us a message to learn more or request a quote online.