Value Beyond The Scan.
Effective Methods.
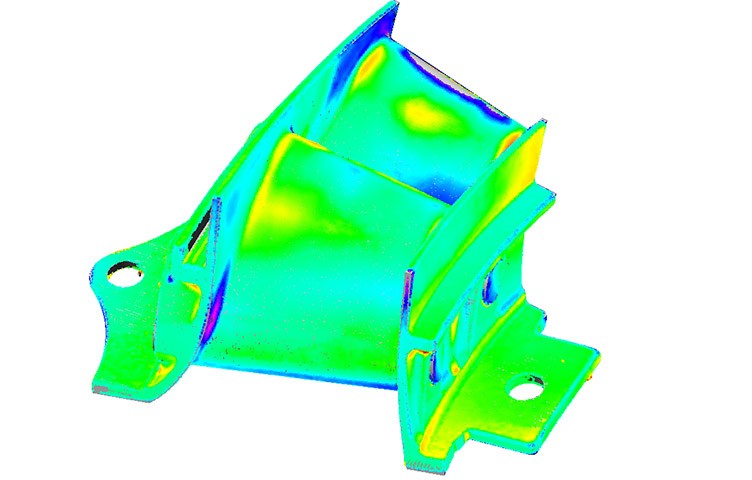
There are a number of ways to verify that manufactured internal geometries match your CAD model. An effective method is to use CT scanning to capture internal and external points, then do a comparative analysis of the point cloud to the CAD. However, when the option is available, internal features can be laser scanned after sectioning the part.
Capturing Dimensions with Greater Accuracy.
Whatever method is used, it is still best to get a thorough overall scan of the external and internal features either with a destructive or nondestructive method. In addition, it’s often helpful to remove the outer features of the part for visual inspection of the most critical internal features. This also allows for additional checks to be performed with a CMM inspection or a vision system that captures dimensions with greater accuracy than a triangulation or CT scanner can produce. Careful sectioning and disassembly is critical to producing accurate results.
Valuable Results.
Performing each of these steps at least once increases the confidence that your parts match your model – inside and out.
QC Engineering can partner with you to ensure that your parts match your model, giving you value beyond the scan. Send us a message to learn more.


